
Learning how to make starter for sourdough bread seems daunting, but it’s actually simple! Having your own starter will allow you to bake delicious, artisan quality bread at home using only flour, water, and salt. With a little patience and a lot of flour, you can soon have a healthy sourdough starter bubbling away on your counter top.
When the pandemic hit in early 2020, I decided it was time to cultivate my own sourdough starter. After all, if toilet paper was suddenly disappearing from the store shelves, who knew what would be next? I wanted to be prepared. (Of course, I didn’t consider what I would do if flour started to disappear, but I digress…)
Excitedly, I measured out my flour and water, stirred it all together, and watched for my starter to develop. After about a week of discarding starter, adding flour and water, and sniffing the jar for a sourdough scent, I finally tried the float test, and it worked. My starter was ready to bake with!
Carefully, I followed the recipe for overnight sourdough bread and was delighted with my first loaf of homemade sourdough bread. Although the first one turned out a bit flat, with a few more tries, my bread soon rose to a normal height and developed a flavorful tang. Ever since, I’ve been hooked, and now I’m excited to share my love for sourdough with you!
What is Sourdough Starter?
A sourdough starter is a mixture of flour and water which acts as a leavening agent in bread and other baked goods. Instead of using commercial yeast, bacteria and wild yeast catabolize the flour, producing gases which cause the dough to rise.
How does Sourdough Work?
In a sourdough starter, flour and water create an environment for bacteria and yeast to thrive. Microbes in the air and the flour migrate to the starter and form a colony. Lactic-acid bacteria growing in the culture provide the sourdough flavor and also protect the starter from harmful bacteria. Wild yeast in the starter catabolizes the sugars in flour, producing carbon dioxide and ethanol which make the bread dough rise. In a symbiotic relationship, the bacteria and yeast in the starter work together to flavor and leaven sourdough bread.
Is it worth keeping a Sourdough Starter?
While maintaining a sourdough starter does require a bit of dedication and diligence, you definitely won’t regret it! Here are just a few benefits of cultivating your own sourdough starter:
- This may seem obvious, but you get to enjoy homemade bread! There’s nothing quite like a slice of sourdough bread straight from the oven. Additionally, you can add your starter to nearly any bread recipe, from bagels to croissants to pizza. The opportunities are endless!
- It’s easy to take care of because you only have to feed it once per week. Over the past few years, I’ve found the best way to maintain a sourdough starter is to keep it in the fridge and feed it once per week. This method slows down the time it takes for the bacteria and yeast to break down the flour, which means it requires less feeding to stay healthy.
- It’s less expensive to make your own bread than to buy it from the store. A typical loaf of sourdough bread can cost between $2-$5. However, at a typical store, you can buy a 5lb bag of flour for $2, and from that bag you can make 4 loaves of sourdough bread. As you can see, making your own bread is much cheaper!
Why is Sourdough Bread so Healthy?
Here are a few reasons:
- Your body can absorb more nutrients from sourdough bread than regular bread. Normally, bread contains phytic acid that prevents your body from digesting minerals such as zinc, iron, calcium, and magnesium. However, sourdough starter greatly reduces the amount of phytic acid in bread, allowing your body to digest these important nutrients.
- Sourdough bread has a lower glycemic index than bread made with yeast. As a result, it does not cause a high spike in blood sugar after you eat it. This is especially helpful for people with diabetes as it means they don’t need to take nearly as much insulin to counteract the change in blood sugars that normally comes with eating bread.
- People with gluten-sensitivities can often eat sourdough bread. As the bread rises, bacteria in the starter break down the gluten in the bread into different amino acids. Because of this, those with gluten-sensitivities often find they can enjoy sourdough bread without suffering the side effects of regular bread. Please note though, this is not a guarantee, and those with celiac disease should ask their doctors before eating sourdough bread.
How long will a Sourdough Starter live?
Surprisingly, sourdough starters are actually hard to kill! In fact, some bakers claim to have sourdough starters that are over a hundred years old. While it’s hard to verify their claims, it is true that sourdough starter will live indefinitely as long as you continue to feed it regularly. And even if you forget to feed it on time, your starter is resilient enough that it will revive after a few hearty feedings.
Tips for creating your own Starter:
- Using a tall container makes it easiest to see how much your starter is rising. Also, using a container with an air-tight lid is important if you are planning to keep your starter in the fridge eventually.
- Use all-purpose flour when beginning your starter. Once your starter is stronger, you can use a mixture of flours, but to begin, all-purpose is the easiest type to use.
- While you should follow the directions as best you can, every starter is different and may have different needs in the early stages. Factors such as temperature and water quality can affect how quickly your starter develops. Instead of strictly following the schedule I recommend, pay attention to your starter to determine when it’s actually hungry and feed it accordingly.
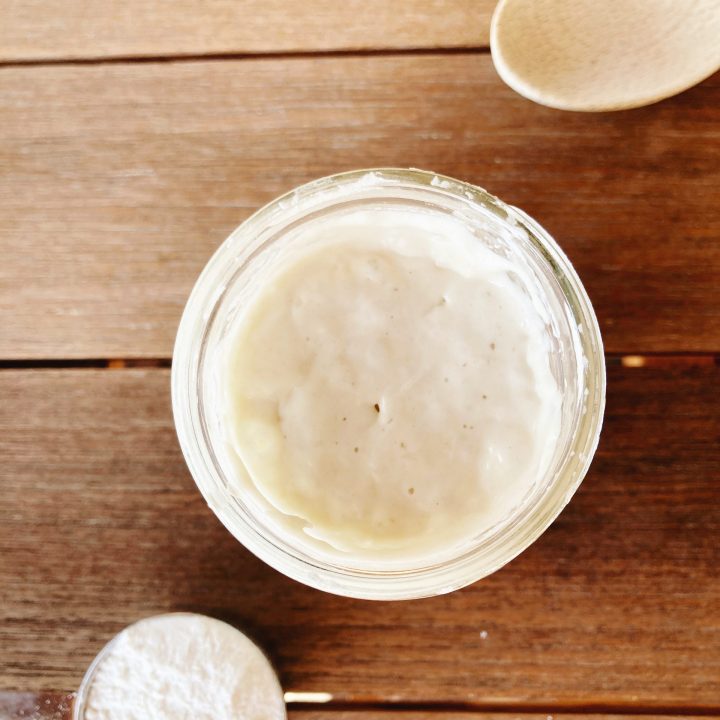
- Your starter is hungry when it has catabolized all of the flour that you fed it. It will have risen after feeding and then sunk. It should have many bubbles on the top and appear more liquidy than when you last fed it. It’s very important to only feed it when it’s hungry so that your starter will grow strong.
Ingredients and Tools you may need:
While learning how to make starter for sourdough bread, you will need:
- Container for storing your starter. I recommend a tall container with an air-tight lid.
- All-purpose flour
- Water
How to make your own Sourdough Starter
I learned how to make a sourdough starter from Feasting at Home, and while these directions are different, they were adapted from her recipe. If you’re hungry for more information about starting your own sourdough starter, I’d highly recommend reading her advice!
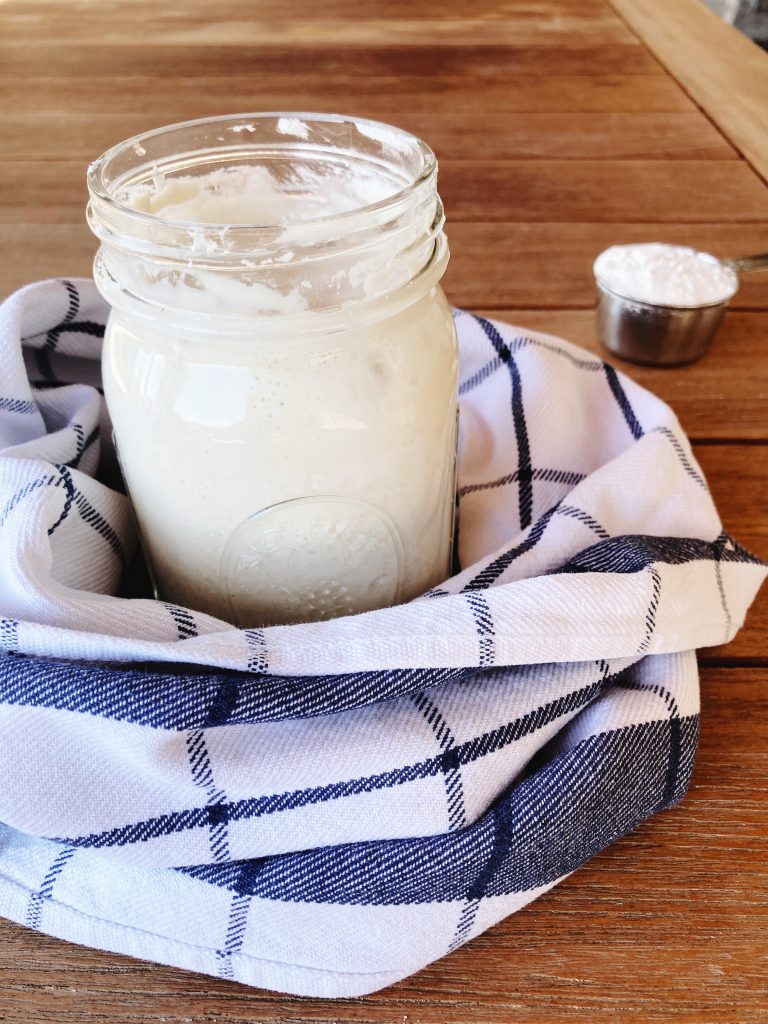
Day 1: Measure out 1 cup of all-purpose flour and 1 cup of water into the container. Mix together well – it will be gooey, kind of like honey. If you like, you can use a rubber band to mark where the level of starter in your jar. This will help you see whether or not it is growing. Cover the container with a towel and let sit on your counter overnight.
Day 2: Stir your starter with a spoon. You may begin to see some bubbles at this point. Cover it again and let it sit out overnight.
Day 3: Hopefully at this point your starter will have bubbles and will have doubled in size. After it doubles in size, it will start to sink down again. When it starts to sink, your starter is hungry, and it’s time to feed it. Scoop out all of the starter except for 1/2 cup and save it to use in discard recipes. Add 1 cup of flour and 1 cup of water to the starter. Mix it well, cover, and let it sit.
Day 4: Depending on how fast your starter is developing, at this point you can begin feeding it twice per day. If it has risen and fallen in the morning, feed it the same way you did on Day 3. Then at night, if it appears hungry, you can feed it again. This will help it grow stronger. However, if you’re unsure of whether you should feed your starter twice per day, err on the side of under-feeding rather than over-feeding. Adding flour to a starter that isn’t hungry won’t help it develop.
Day 5-7: Continue feeding your starter 1-2 times per day, discarding all but 1/2 cup and adding 1 cup of water and 1 cup of flour.
Day 8: By now, your starter may be ready to bake with. To test if your starter is ready, take a small scoop of starter and drop it into a glass full of water. If it floats, your starter is ready to use! If not, don’t worry. Continue feeding it for a few more days, and then try again. Sometimes the starter just needs a bit more time to grow strong.
Caring for your Starter
There are so many ways to take care of your sourdough starter long term. What I’ve found to be the easiest and most reliable method is keeping my starter in an air-tight container in the fridge. I feed it once per week, discarding all but 1/2 cup of starter and adding 1 cup of water and 1 cup of flour.
Alternatively, you can leave your starter on your counter, but this means you will need to feed it daily to ensure it stays strong. If you plan to bake with your starter many times each week, this could be a great option for you. You will need a lot of flour though!
Also, make sure to save your discard. You can use it in a variety of recipes from crackers to cookies, and it will give your baked goods a unique and delicious flavor!
Baking with Sourdough Starter
Once you’ve learned how to make starter for sourdough bread, it’s time to bake! When baking with your starter, it’s recommended that you feed your starter 6-8 hours before you want to bake. This will make it proof faster.
However, if you want a more sour flavor in your bread, use your starter several days after feeding it. It will take longer for your bread to rise, but will have a much stronger flavor.
Here are some recipes to get you started:
Easy Overnight Sourdough Bread
Let me know if you have any questions in the comments section below! Good luck making your own starter!
How to Make Starter for Sourdough Bread
Ingredients
- 4-7 cups all-purpose flour
Instructions
Day 1: Measure out 1 cup of all-purpose flour and 1 cup of water into the container. Mix together well - it will be gooey, kind of like honey. If you like, you can use a rubber band to mark where the level of starter in your jar. This will help you see whether or not it is growing. Cover the container with a towel and let sit on your counter overnight.
Day 2: Stir your starter with a spoon. You may begin to see some bubbles at this point. Cover it again and let it sit out overnight.
Day 3: Hopefully at this point your starter will have bubbles and will have doubled in size. After it doubles in size, it will start to sink down again. When it starts to sink, your starter is hungry, and it's time to feed it. Scoop out all of the starter except for 1/2 cup and save it to use in discard recipes. Add 1 cup of flour and 1 cup of water to the starter. Mix it well, cover, and let it sit.
Day 4: Depending on how fast your starter is developing, at this point you can begin feeding it twice per day. If it has risen and fallen in the morning, feed it the same way you did on Day 3. Then at night, if it appears hungry, you can feed it again. This will help it grow stronger. However, if you're unsure of whether you should feed your starter twice per day, err on the side of under-feeding rather than over-feeding. Adding flour to a starter that isn't hungry won't help it develop.
Day 5-7: Continue feeding your starter 1-2 times per day, discarding all but 1/2 cup and adding 1 cup of water and 1 cup of flour.
Day 8: By now, your starter may be ready to bake with. To test if your starter is ready, take a small scoop of starter and drop it into a glass full of water. If it floats, your starter is ready to use! If not, don't worry. Continue feeding it for a few more days, and then try again. Sometimes the starter just needs a bit more time to grow strong.
Notes
It may take your starter longer to develop depending on the temperature of your kitchen. This is ok! Just keep feeding it 1-2 times per day until it passes the float test.
Leave a Reply